


A building needs blueprints, a play needs rehearsals, and Motion Design projects need animatics...so what exactly are they, and how do you make one?
As a motion designer, it’s easy to jump straight into After Effects, make some shapes, start piling on the keyframes, and see what happens. But that’s really not a great way to complete a project. Without planning, you’ll likely run into a lot of poor compositions, timing issues, and dead ends. Enter the Animatic.
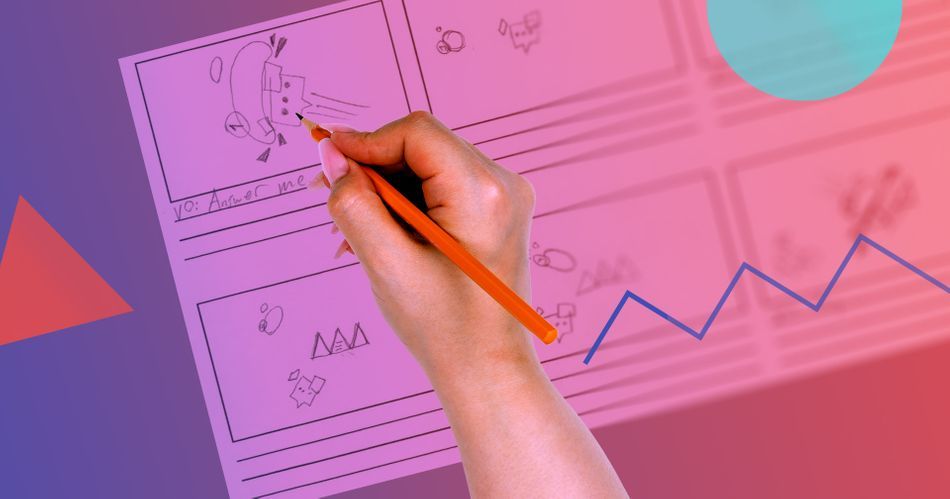
Animatics are the blueprint for your project. They show you what works and what doesn't, where objects should start and finish, and give you the basic impression of your final product. They are the first step toward success.
{{lead-magnet}}
What is an animatic?
What is an animatic? Well, I’m so glad you asked! An animatic is a rough visual preview of your animation, timed to the voice over and/or music.
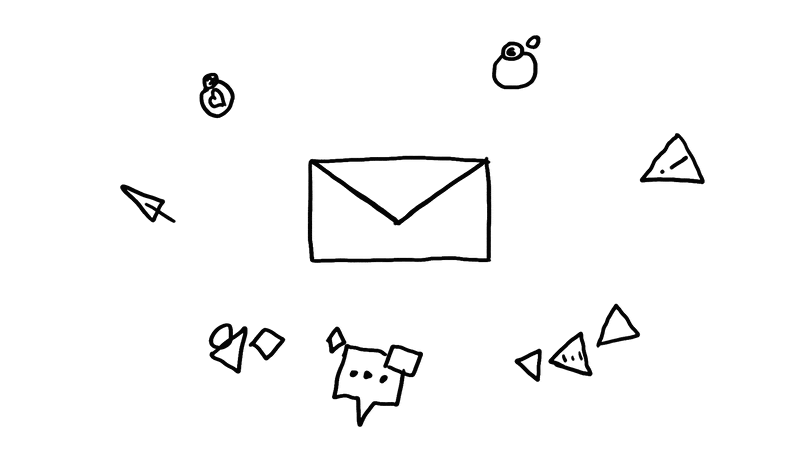
You might hear that description and think it sounds a lot like a storyboard, and in some ways it is. Both showcase the timing, pacing, and compositions of the frames. But a storyboard—the way I implement it—uses final design frames and not sketches. The animatic is made up of very rough black and white sketches and is meant to give a basic look at the visuals.
Think of it as a blueprint, or road map, to your animated project. It allows you to think through everything, plan out the structure of the entire piece, and saves you a whole lot of time. Now, you might think creating an animatic would make the whole process longer; we’re adding more steps to the process, right?
Actually, it's the opposite.
As you’ll see, creating an animatic not only saves you time but can also improve the quality of the entire piece.
The Anatomy of Animatics

An animatic is made up of a sequence of still images timed to voice over and music (if you’re using them). Some animatics use rough sketches of the key frames of the sequence, scratch VO, and watermarked music.
On the other end of the spectrum, some animatics use polished drawings, final VO, licensed music, and even a bit of basic movements like push-ins and wipes.
Gauging Effort for Animatics

So how much effort should you put into an animatic?
Well, like everything in motion design, it depends on the project. Are you making a personal project with little to no budget? Well, then you’re probably fine using rough and dirty sketches. Is this a client project with an actual budget? Then it’d be a good idea to spend some more time refining those sketches. Regardless of who the project is for, though, the animatic phase will expedite the entire process.
The Big Friggin' Process for Animatics
Let’s look at an example client called BFG. BFG produces Frobscottle. Frobscottle is a green fizzy drink that produces wonderful whizzpoppers. BFG needs a 30-second explainer video to introduce their product to the masses. BFG has a $10,000 budget.
BFG wants Y-O-U to get it done.
They have a locked script but are leaving it up to you to get professional VO recorded. They also want you to choose appropriate music to fit the vibe of the script.
Recap:
- 30 Second Explainer Video
- $10,000 Budget
- Professional VO
- Stock Music
If you’re anything like me, $10,000 is nothing to sneeze (or whizzpop) at. If you agreed to take this job, you’d better deliver. Do you think it’d be a good idea to pop open After Effects, start making some circles and squares move around, and hope everything works out?

Animatics = Headache Prevention

The answer is no. A decent-sized project with a decent-sized budget deserves a decent amount of planning, and the animatic is exactly the tool to help you do just that. It allows you to get a feel for the entire piece before you even open After Effects, and it gives the client an early look at how you plan to share their message. This is great for both of you because it opens the door to client feedback and revisions before you’ve actually animated anything, saving both of you time and money.
How to Start Creating Animatics
Let’s get a short overview of the process so you can start building animatics on your own. There are two main stages that you’ll need to create an animatic, and you can repeat the steps to refine and reiterate. Let the rough nature of quick sketches help save you time in the end.
SKETCH IT OUT
Let’s get down to business! Using pencil and paper, roughly sketch out each key frame of the entire sequence.
If you’re using 8.5” x 11” paper, put 6 boxes on a page to allow for a nice sketching size. As you’re sketching, think through the basic compositions of each frame, which elements will be visible, how they enter or leave the frame, transitions, edits, text, etc.
Don’t put a lot of detail into your sketches! Just get the basic forms of each element in the frame; enough to identify what’s going on.
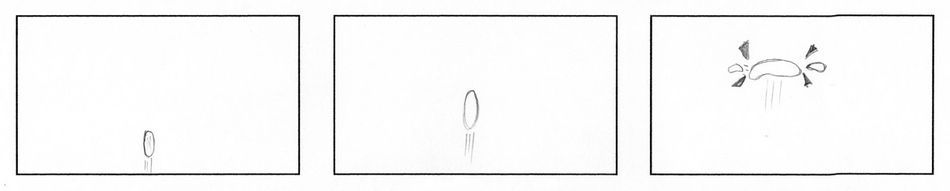
With just a few minutes of quick sketching, you can get visuals out of your head and onto paper so that you can look at it with your eyes instead of just imagining it in your head. This process allows you to (literally) see any glaring issues with your compositions, think through your transitions, and begin to form an overall structure.
Take notes underneath each frame describing any sound effects, VO, or key motion that takes place.
SET THE TIMING

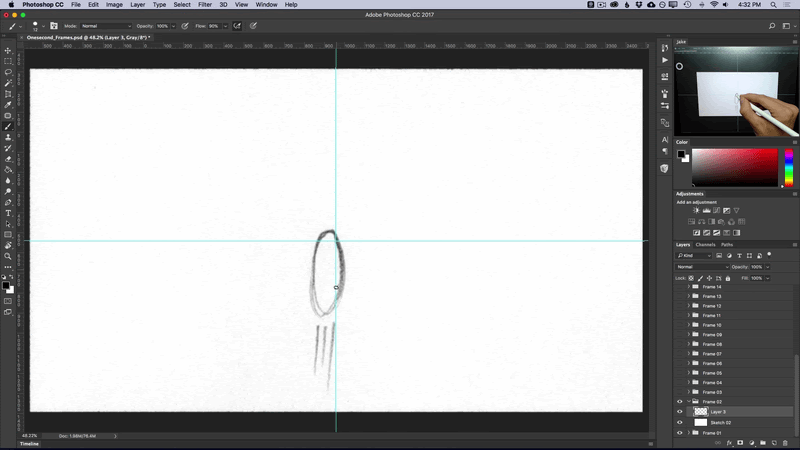
Once you’re happy with your frames, the next step is to get each of your sketches on the computer. Separate each sketch into its own full-sized frame and import them into a video editor, like Premiere Pro.
Here we’ll add in the voice over, music, and maybe even some key sound effects if it helps tell the story. Remember, this is a 30-second explainer, so the length isn’t flexible. But that’s actually a good thing, because it allows you to not only nail down the timing of your visuals but the VO and music as well.
Lay all of your sketches into a sequence, add the music and VO, and start timing everything out in the edit. If everything fits together nicely, great! If not, no big deal because you only spent 30 minutes sketching out rough drawings to get to this point.
Now you can go back to pencil and paper to rethink and rework whatever needs adjusting and plug it back into your timeline.
Pro-Tip for Animatic Voice Overs
Remember, BFG is leaving it up to you to record professional VO. You might think you should go ahead and get that process out of the way so you can work off the final VO for exact timing and avoid showing the client your scratch VO, but I’d actually suggest that you don’t, and here’s why.

Professional VO is expensive, and clients are fickle. That “locked” script they gave you could change at any point in the process of creating this explainer video, which means more expensive VO sessions. Instead, do the best you can with your own voice; you’d be surprised how well you can make yourself sound with a little effort. Plus you can give the scratch VO to the professional VO artist to give them a better sense of the pacing you’re after.
A Layer of Polish on Your Animatics
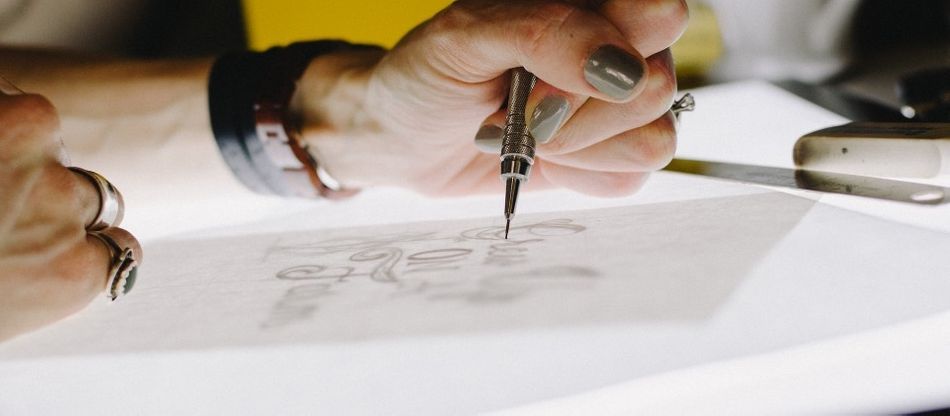
If you’re happy with the quality of your sketches, you’re ready to export your animatic and show the client. But if you haven’t taken Illustration for Motion yet (like me), you’re probably going to want to refine those sketches in a second pass.
I like to do this digitally in Photoshop. I’ll take pictures of the sketches with my phone, open them up in Photoshop, and trace over them with clean brushes.
You still don’t need to worry about the details at this point; just include what you need to clearly convey what you plan to do with the motion. This is also a great time to type out any text that will be on screen. When that’s done, I’ll replace my dirty sketches with the refined ones, export an mp4, and send it off to the client.
Animatics are One Part of the Puzzle

Now there’s a lot more to the production process than just making a rough animatic, but this is just an abbreviated look at animatics to give you an idea of how helpful they can be.
The client should be fully aware of what they’ll be seeing, why it looks and sounds the way it does, and when they’ll see iterations of the same sequence with more final-looking graphics and audio.
If you’d like to learn the ins and outs of how to handle a client project of any size, check out Explainer Camp. In the course, you’ll actually create an explainer video for one of three clients from client-brief to final delivery.
Like I said before, every project is different and will require different levels of detail. Some clients may benefit from seeing a much more polished animatic. But even if you’re just planning out your own personal project, putting in a few hours of work planning out the sequence with rough sketches is going to save you a lot of time and give you a lot more direction once you’re in the animation phase.
Time To Get Your Learn On
Now that you know the basics of Animatics, why not put that knowledge to work? This project-based course throws you into the deep-end, giving you the training and tools to create a fully-realized piece from bid to final render. Explainer Camp gives you the tools you need to get to work on professional videos.

Dive into real-time 3D with our Unreal Engine beginner's course by Jonathan Winbush. Master importing assets, world-building, animation, and cinematic sequences to create stunning 3D renders in no time! Perfect for motion designers ready to level up.
Explore this Course ➔
Unlock the secrets of character design in this dynamic course! Explore shape language, anatomy rules, and motifs to craft animation-ready characters. Gain drawing tips, hacks, and Procreate mastery (or any drawing app). Ideal for artists seeking to elevate their craft.
Explore this Course ➔
Elevate your freelance motion design career with our guide to client success. Master a repeatable method for finding, contacting, and landing clients. Learn to identify prospects, nurture leads, and develop a thriving freelance philosophy amidst chaos.
Explore this Course ➔
Rev up your editing skills with After Effects! Learn to use it for everyday needs and craft dynamic templates (Mogrts) for smarter teamwork. You'll master creating animated graphics, removing unwanted elements, tracking graphics, and making customizable templates.
Explore this Course ➔
Stand out with Demo Reel Dash! Learn to spotlight your best work and market your unique brand of magic. By the end, you'll have a brand new demo reel and a custom campaign to showcase yourself to an audience aligned with your career goals.
Explore this Course ➔
Illuminate your 3D skills with Lights, Camera, Render! Dive deep into advanced Cinema 4D techniques with David Ariew. Master core cinematography skills, gain valuable assets, and learn tools and best practices to create stunning work that wows clients.
Explore this Course ➔
Master After Effects at your own pace with Jake Bartlett's beginner course. Perfect for video editors, you'll learn to create stylish animated graphics, remove unwanted elements, and track graphics into shots. By the end, you'll be equipped for everyday AE needs and more.
Explore this Course ➔Revolutionize your Premiere workflow with customizable AE templates! Master creating dynamic Motion Graphics Templates (Mogrts) in After Effects to speed up your team's work. By the end, you'll craft easily-customizable templates for seamless use in Premiere Pro.
Explore this Course ➔

Not sure where to start?
If you’re a beginner, here are some great courses to help you get started:

After Effects Kickstart
Dive into the fundamentals of motion design with our most popular (and recently updated) After Effects course.

Photoshop + Illustrator Unleashed
Master the basics of Photoshop and Illustrator and gain invaluable insights in this introductory level course.

Design Kickstart
An introduction to the design principles behind all great work.
More Advanced?
If you’re a more advanced student looking to up your game, here are some great options:

Animation Bootcamp
Learn the art and principles of creating beautiful movements in Adobe After Effects.

Design Bootcamp
Learn to design for motion in this intermediate-level, project-based course.
Cinema 4D Basecamp
Learn Cinema 4D from the ground up in this exciting introductory C4D course.
Now is the time to learn the skills you need to advance in your motion design career:


