Adobe has added a new and more flexible way to integrate 3D text into your After Effects projects.
Aharon Rabinowitz here for School of Motion. Adobe has added a new and much more flexible way to create and work with real 3D text and in After Effects. In this video I'll show you how to use it.
In After Effects in a really simple 3D composition I've got 3D Text in After Effects, some basic 3D text if I rotate the camera around you can see there's a flat layer that I'm using as a floor this is basically your typical 2.5 d project. Now I want to turn this into 3D extruded text so to do that the first thing I have to do is go into my composition settings and choose 3D renderer. From there it sets a classic 3D by default if I click on that I can choose Cinema 4D.
I'm going to get a whole bunch of new features that were not available in the standard 3D renderer such as extruded in bevel text shapes, reflections, curved layers, things like that. I'm also going to lose a bunch of stuff like motion blur and layer styles and track mattes so I just want you to be aware of that you are definitely losing some stuff in this process and you're gonna have different reasons for wanting to do it this way.
For now let's just focus on the 3D properties for this layer and work with that okay. I'm going to select my 3D text layer and I'm going to roll this down now if you've worked with 3D text or 3D layers before you probably are noticing that there's something new here 3D Text Geometry Options, these are not available to you when you're not using that Cinema 4D renderer so I'm going to twirl this down and inside I'm going to see now that I've got bevel depth whole bevel depth and extrusion depth.
Dive into real-time 3D with our Unreal Engine beginner's course by Jonathan Winbush. Master importing assets, world-building, animation, and cinematic sequences to create stunning 3D renders in no time! Perfect for motion designers ready to level up.
Explore this Course ➔
Unlock the secrets of character design in this dynamic course! Explore shape language, anatomy rules, and motifs to craft animation-ready characters. Gain drawing tips, hacks, and Procreate mastery (or any drawing app). Ideal for artists seeking to elevate their craft.
Explore this Course ➔
Elevate your freelance motion design career with our guide to client success. Master a repeatable method for finding, contacting, and landing clients. Learn to identify prospects, nurture leads, and develop a thriving freelance philosophy amidst chaos.
Explore this Course ➔
Rev up your editing skills with After Effects! Learn to use it for everyday needs and craft dynamic templates (Mogrts) for smarter teamwork. You'll master creating animated graphics, removing unwanted elements, tracking graphics, and making customizable templates.
Explore this Course ➔
Stand out with Demo Reel Dash! Learn to spotlight your best work and market your unique brand of magic. By the end, you'll have a brand new demo reel and a custom campaign to showcase yourself to an audience aligned with your career goals.
Explore this Course ➔
Illuminate your 3D skills with Lights, Camera, Render! Dive deep into advanced Cinema 4D techniques with David Ariew. Master core cinematography skills, gain valuable assets, and learn tools and best practices to create stunning work that wows clients.
Explore this Course ➔
Master After Effects at your own pace with Jake Bartlett's beginner course. Perfect for video editors, you'll learn to create stylish animated graphics, remove unwanted elements, and track graphics into shots. By the end, you'll be equipped for everyday AE needs and more.
Explore this Course ➔
Revolutionize your Premiere workflow with customizable AE templates! Master creating dynamic Motion Graphics Templates (Mogrts) in After Effects to speed up your team's work. By the end, you'll craft easily-customizable templates for seamless use in Premiere Pro.
Explore this Course ➔
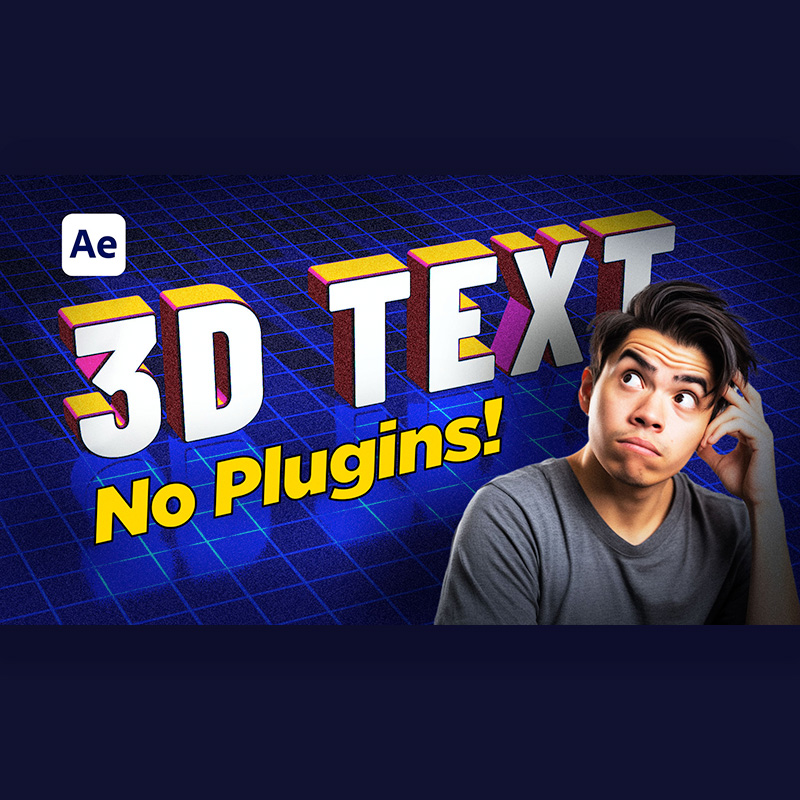
3D Text Geometry Options
Now let's bring our extrusion depth up really high and of course this becomes very hard to see because we don't have any light here so lights will help define the edges. I'm just going to go to layer new and light and I'm going to create a let's go with the parallel light directional light essentially and I'm going to set the intensity up to 100 and just click OK. Then I'm just going to take this bring it up slightly so we start to see something that looks like that and I want to give a little more light there so I'm going to duplicate this parallel light here Ctrl+D and then I'm just going to drop that down.
Then just to give a little more light overall so we can get some of these darker edges we can see this stuff I'll choose layer new and light and I'm going to choose an ambient light and I'll set this to 30 percent and that will light things up and we get some nice 3D text there but it's pretty basic right now so one thing I want to do is add some reflections into the floor so we can see our text reflected.
Select the floor layer here and I'll just roll this up I'm going to hit a a to reveal all of its 3D properties and so we can go into the materials here and you can see that we've got reflection intensity so I'll set that up to why don't we set that up to 60. Of course the floor gets darker because it's reflecting the whole black background but we can now see the reflection of the text maybe that's too much maybe 40 and then I'm also going to work with the reflection sharpness and set that to maybe 50 so we get a bit of a blurry fall off here on the reflection and then I can roll this off a little bit.
Now we've got our 3D text and we've got the reflection and one other thing I want to do is add in some shadows so what I'll do here is I can choose one of these two lights let's say this one right here and I'll go over to AA or reveal its properties and I'm going to set the lights properties for cast shadows to on and nothing happens yet the next thing I need to do is select my text again I'm going to hit a a just to reveal its three properties and I'm going to choose cast shadows on and now we can see that we've got some 3D shadows there from here I can look at some of the other properties which wouldn't have been apparent without all that lighting before so I can choose the bevel depth I can bring this up high now.
You'll notice that no matter how big I make this nothing seems to happen and what I first need to do is choose a bevel style so I can go with angular which is a typical standard bevel style. Let's just bring that up and you can see a little bit closer here we can also try instead of the bevel of angular we can try concave, we can try convex. I like concave so I'm just going to go with that in this case and I'm also going to take the text and move it up slightly because now it's sticking through the floor now that we've added that bevel in so we can bring this up a little bit and now things start to get interesting it's not apparent and it mtook me a while to figure out exactly how to make this happen but you can actually change the colors and different material properties of the different faces of this front right here of the bevel side of the sides and then even the back if you want to so let's take a look at how to do that twirl this closed and twirl it back open and you'll see that by text we now have something called animate which is you know you might think of it for the standard animation stuff that you've got in here are different presets and the different animators and if I quickly expand everything up because I want you to be able to see the user interface I'm going to click on animate here and you can see that we've got front bevel side and back and these give us the ability to change the color and different other properties of each of the faces of this 3D bevel text.
I'm to just work with front and color and I'm going to set it to RGB and from there I'm just going to change that to something like I don't know like an orange yellow because the light's so intense I might go a little even deeper then and click OK and yeah so now we've got our text we've got it lit and it's got this different color and we can even do something like for example go here and for to add a property so in other words not create a new animator with different properties I'm going to add to this existing one I can go to property and I can choose again front and I can try something like reflection intensity and if I want to turn that all the way up it's going to look super ugly but we can see the floor reflected in the material and so we can do that with each of these different faces and we can change different properties so you can create some really unique stuff.
I want to look at here is by the geometry options here we've got the whole bevel depth and right now it's set to 100 but if I set this down to zero what we'll see is that the holes in the text they get cleared up we don't give it the bevel there and that's just in case some of the holes close up and you want to keep it open so you can read it more you don't have to go all the way I went all the way down to zero maybe if you said it's a let's say 25 that gives you some bevel but not the full depth that closed it up so again back to 100 and you can see that the the D here is completely closed.
Curved 3D Text in After Effects
Now in Curved 3D Text this composition I want to take this text and I want to have it sort of bulging out towards the camera on a curve on a circular path and to do that we have to add in first circular path so let me just select the word Universal right here and I'm going to double click and add in a path now if we rotate the camera and by the way I'm going to switch over to draft 3D just so it's easier to navigate this if we rotate the 3D camera here I can see that it's kind of going around it like this I kind of want it to actually be more like something that's circled like this with the you know like the universal pushing out on it so what I'm going to do is this uh first of all I want to make it a circle. At least more circular than the exact circle but I want to just get that a little more circular like that and then I want to select the text right here and choose for path right here just in case you don't see it you twirl you know twirl your stuff down go to path and for path set it to mask one and again that path options were under text and what's happening here is that it's kind of hanging out at the bottom kind of like a smile so let me just turn off the floor for a moment so we can just see what's going on here so you can see that that it's on this path but the path is now facing the wrong direction and like I said before and I wanted to do more like this so if I rotate this 90 degrees well now the path is doing what it's supposed to do but the text is not facing the camera.
What we have to do is select the text here and right here I'm going to choose animate and I'm going to add in a property of rotation and I'm just going to set the x rotation and I'll set that to 90 degrees and now we've got this Universal text kind of bulging out sort of like you would expect to see in a movie and now let me bring the floor back here let me just close this all up bring the floor back and let me just get this positioned and we'll just turn off draft 3D and so yeah this is how you add text to a path in 3D.
Text Animators in Ae
The last thing I want to mention 3D Text Animators. The 3D extruded text works with the text animators that come with After Effects so you know you could swirl this down and you could try adding different animators like that or you can go over to the effects and presets area right here and under animation presets we can go into the text section right here and I'm just going to find a 3D resolve position and I'm just going to drop that onto the layer and well you know one thing it does it kind of scrambles the positions of the text I I don't love the that it's also sort of playing with the opacity of that so if I go and scroll down the animator here that we've just added you can see that one of the properties that's being animated here is the opacity so I'm just going to set this back up to 100 and we'll leave it at that and now if we ran preview and it's going to take a moment is what you'll see and this is what you get and I think it's worth taking a dive into some of these and seeing how they work.
If you haven't played around with these already they're really great and powerful and can save a lot of time once you understand how to use them.
Master After Effects with School of Motion
School of Motion is home to the best training for design and animation. Our guided courses for beginner and intermediate artists will help you learn the fundamentals of great work using the most in-demand tools like Adobe After Effects. Check out our courses page to get started on your educational journey.
Not sure where to start?
If you’re a beginner, here are some great courses to help you get started:
After Effects Kickstart
Dive into the fundamentals of motion design with our most popular (and recently updated) After Effects course.
Photoshop + Illustrator Unleashed
Master the basics of Photoshop and Illustrator and gain invaluable insights in this introductory level course.
Design Kickstart
An introduction to the design principles behind all great work.
More Advanced?
If you’re a more advanced student looking to up your game, here are some great options:
Animation Bootcamp
Learn the art and principles of creating beautiful movements in Adobe After Effects.

Design Bootcamp
Learn to design for motion in this intermediate-level, project-based course.
Cinema 4D Basecamp
Learn Cinema 4D from the ground up in this exciting introductory C4D course.
Now is the time to learn the skills you need to advance in your motion design career:


