

Just how well do you know the top menus in Adobe Premiere Pro?
When was the last time you took a tour of Premiere Pro’s top menu? I would bet that whenever you jump into Premiere you’re pretty comfortable in the way you work.

Chris Salters here from Better Editor. You might think you know a lot about Adobe's editing app, but I'll bet there are some hidden gems staring you in the face. The File menu’s a juicy place to start, so let’s dig in!
There’s a lot to love about the File menu. It’s a source for generating shapes and adjustment layers, it can open magical doors to After Effects, tweak project settings, and you can even package up an entire project to share with your buds—you know, like Pokémon cards.
Legacy Title in Adobe Premiere Pro
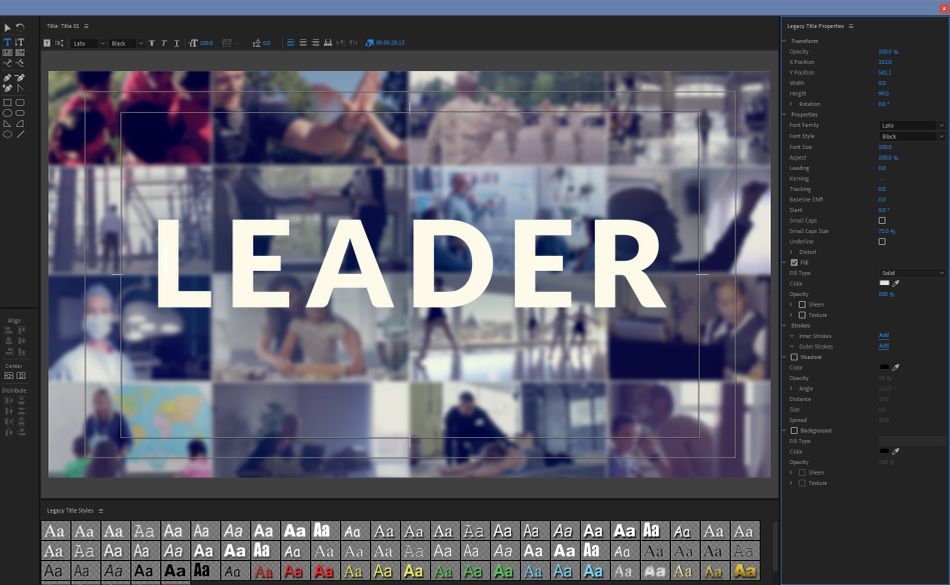
It’s not uncommon while in Premiere to need to throw in a splash of MoGraph. Maybe a line reveal across the screen or a popup box. Whatever the case it’s often more convenient to keep the animation inside of Premiere Pro instead of opening After Effects, creating something, and pulling it back inside of an edit.
So if a simple graphic is all you need, look no further than the Legacy Title Tool. Inside this window, you’ll find everything you need to add text (though not as flexible as the new text tool), add lines, and even shapes. Those graphics can then be animated using Premiere’s Effect Controls or the transform effect.
Adjustment Layer in Adobe Premiere Pro
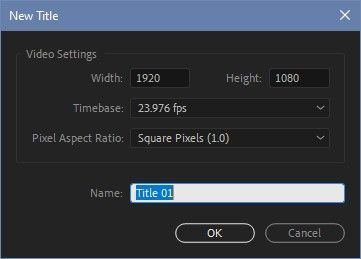
Adjustment layers aren’t just for After Effects. With the Project window selected, create an adjustment layer via New > Adjustment Layer. You’ll be prompted to set a resolution, which defaults to the size of the last sequence Premiere referenced. Feel free to change the size here if you need, or you can use the Effect Controls once the Adjustment Layer is in a timeline to scale it up or down.
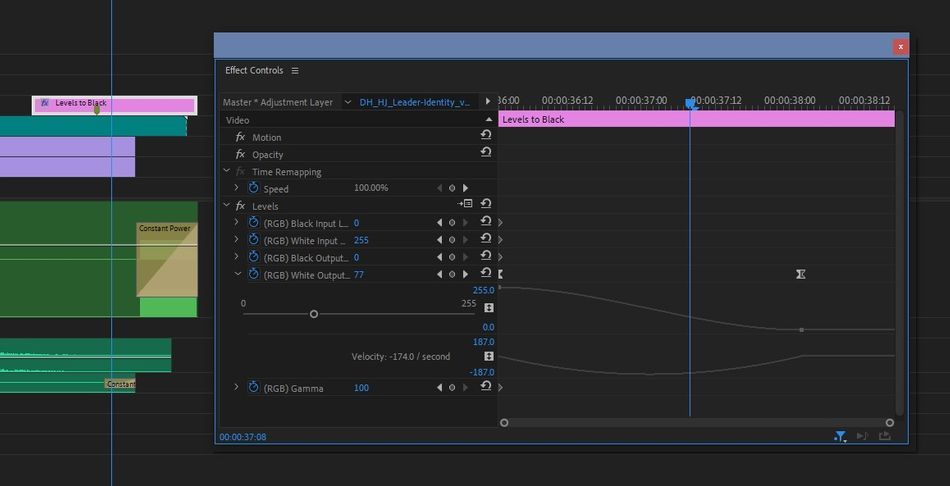
Hold up. If the Adjustment Layer is scaled or moved in the timeline, won’t that affect the clips beneath it? Nope! The Effect Controls for an Adjustment Layer only affect the Adjustment Layer’s properties and nothing beneath it. Only effects on an Adjustment Layer modify the clips below. So to scale or move clips, use Premiere’s Transform effect—which, by the way, allows you to add motion blur to movements in Premiere by changing the shutter angle.
Adobe Dynamic Link in Adobe Premiere Pro
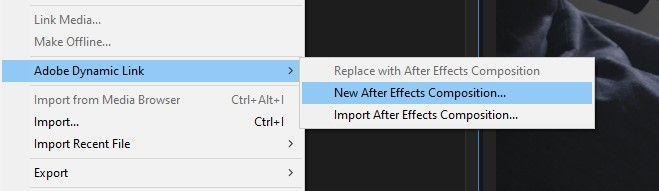
NEW AFTER EFFECTS COMPOSITION
Speaking of After Effects, this is where Adobe’s magical Dynamic Link system lives inside of Premiere. Adding a New After Effects Composition will add a dynamically linked clip in Premiere, pop open After Effects, and open up a new composition. Whatever’s created inside of that comp within AE will be pushed through a magical tube right inside of your edit.
A helpful tip for faster playback of the linked comp is to ram preview it in After Effects first. As a caveat from personal experience, this does have its limits. Intense graphics or visual effects are still better rendered and imported rather than forcing them through the magic tubes.
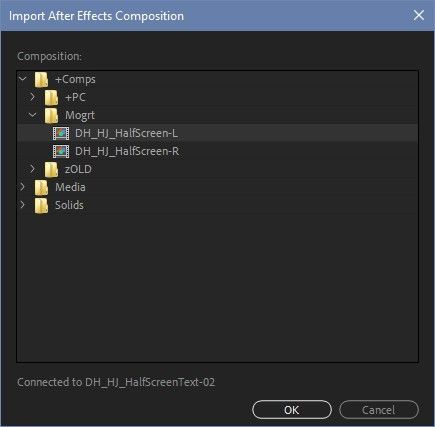
IMPORT AFTER EFFECTS COMPOSITION
Works similar to the above, but you can instead import an already created AE comp and have it dynamically linked between the two programs.
Project Settings in Adobe Premiere Pro
I can’t emphasize this enough: Project settings are a biggie. These are set at the start of every project, but you’ll need to know how to adjust them should the project move computers, or you need to troubleshoot timeline render problems. The Project Settings window has 3 tabs: General, Scratch Disks, and Ingest Settings. The ingest settings are useful when pulling in new media from hard drives, but let’s focus our attention to the first two tabs, starting with General.
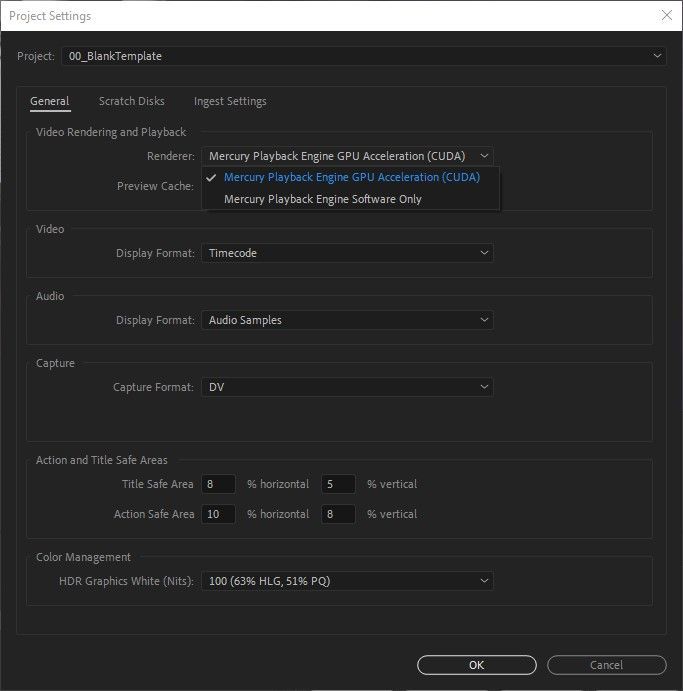
At the top of the General tab you’ll find the Video Rendering and Playback section. Here you can change the renderer Adobe Premiere uses to playback video and render effects. Most of the time this setting should be left on GPU Acceleration for best performance.
If in an edit playback starts to look strange, the Program monitor goes black, or Premiere starts freezing and crashing, then consider switching the renderer to Software Only. You can even render a part of your timeline that’s causing trouble—maybe it has a lot of effects or large images—then switch the renderer back to GPU Acceleration. Note that if you do that, any edits you make to the rendered section should again be performed with Software Only rendering. Check this out for more Premier Pro troubleshooting tips.
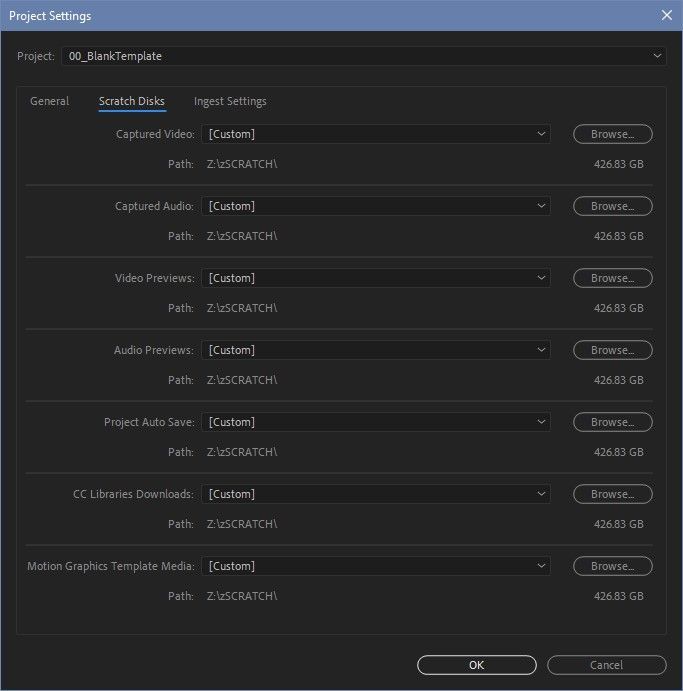
Also in the Project Settings window are Scratch Disks. Premiere Pro uses scratch disks to access temporary files that help it perform better and run faster. So scratch disks should be added to a separate, fast drive (like an NVMe SSD), whenever possible. Personally, I keep my scratch disks and cache set to the same location for easy cleaning and troubleshooting.
Project Manager in Adobe Premiere Pro
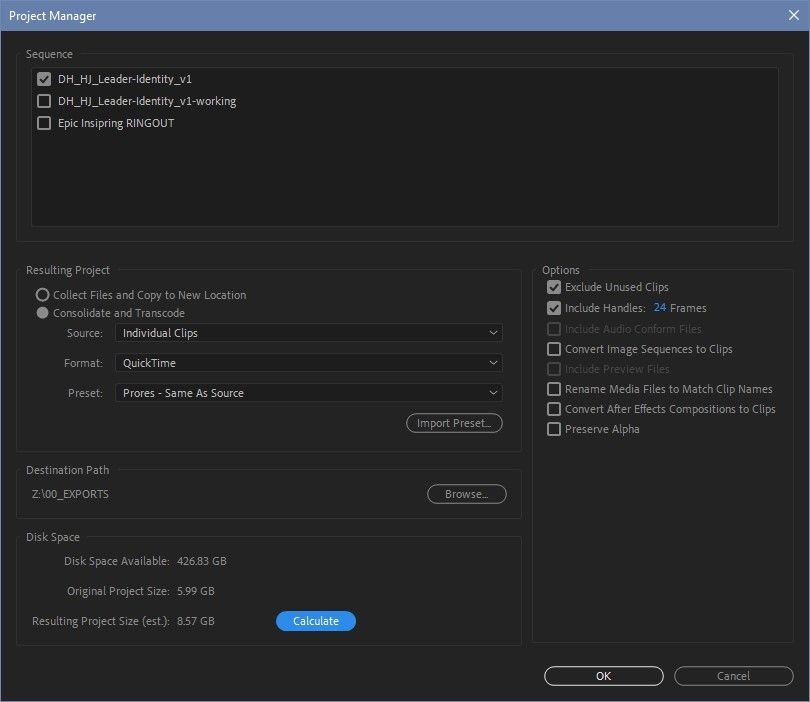
Rounding out the File menu is the Project Manager, and it’s similar to After Effects’ “Collect Files.” The Project Manager will reduce a Premiere Project down to only the media referenced by the selected sequences. It’s good practice to select all nested sequences that appear in any main sequences.
At the bottom of the Project Manager, you'll see Resulting Project. You can either copy and paste media as it currently is to a new location, or the media can be transcoded to a new location. Copying media is great for keeping a project’s full integrity while consolidating and transcoding is good for reducing the size of a project. Note that in both cases folder structure in Finder and Windows Explorer is lost and also transcoding will take substantially longer than copying.
Options include:
- Exclude Unused Clips: Reduces the project
- Include Handles: Adds custom duration handles to before and after the IN and OUT points of a clip when transcoding—not copying—clips
- Include Audio Conform files: Prevents Premiere from having to recreate conform files again when opening the managed project
- Convert Image Sequences to Clips: Converts image sequences into video files
- Include Preview Files: Similar to including audio conform files, this saves Premiere from generating new preview files once opening the managed project
- Rename Media Files to Match Clip Names: If clips have been renamed within Premiere, the resulting copied or transcoded files will now have that clip name
- Convert After Effects Compositions to Clips: Smart choice if project managing as part of archiving a project
- Preserve Alpha: Preserves alpha channels on clips being transcoded. For this to work, clips must be transcoded into a codec that supports alpha channels
If you’re managing a project to an external drive and are unsure if you have enough space, the Project Manager has a handy feature for calculating how large a project will be based on the chosen settings. For small projects this takes just a few seconds, but for large projects it can take awhile for Premiere to finish its arithmetic and provide you with an answer.
One down, seven to go. Next up is the Edit menu! If you want to see more tips and tricks like these or want to become a smarter, faster, better editor, then be sure to follow the Better Editor blog and YouTube channel.
What can you do with these new editing skills?
If you're eager to take your newfound powers on the road, might we suggest using them to polish up your demo reel? The Demo Reel is one of the most important—and often frustrating—parts of a motion designer's career. We believe this so much we actually put together an entire course about it: Demo Reel Dash!
With Demo Reel Dash, you’ll learn how to make and market your own brand of magic by spotlighting your best work. By the end of the course you’ll have a brand new demo reel, and a campaign custom-built to showcase yourself to an audience aligned to your career goals.