How do you add depth to a 2D world?
When you're working on a 2D animation, you have to work smarter. Using 3D assets, you can save a lot of time that would have been spent redrawing the same shape from different angles. But how do you maintain the same art style with objects of varying dimensions? It all comes down to how you use your tools.
This is an exclusive look at one of the lessons learned in the "The Art of Spontaneous Filmmaking," featuring the wonderfully talented Johan Eriksson. While the Workshop focuses on art design and rigging, Johan has a few great tips for using 3D assets while maintaining a 2D aesthetic, and we couldn't keep those kinds of secrets any longer. This is just a sneak peek at some of the amazing lessons Johan has in store, so grab a bean n' cheese burrito (so you can take notes with your free hand)! It's time to enter a whole new dimension.
Creating 3D Space in a 2D World
The Art of Spontaneous Filmmaking
It’s easy to fall victim to the notion that there is one process to rule them all. In reality, everyone works slightly differently, has their own unique preferences, and knows what works for them when it comes to making great designs and animations. At the end of the day, the results are what matters! In this Workshop, we take a deep dive into the mind of Johan Eriksson, his process, and how a more spontaneous approach to filmmaking is what led to his amazing animation, Crack.
This film takes place in a minimalistic world filled with gradients as we follow along with our protagonist as he tries to outrun, well, a giant crack! In addition to the video walkthroughs, this Workshop includes various project files that were used directly in the production of these films. From initial mood boards and storyboards, down to production project files.
-----------------------------------------------------------------------------------------------------------
Tutorial Full Transcript Below 👇:
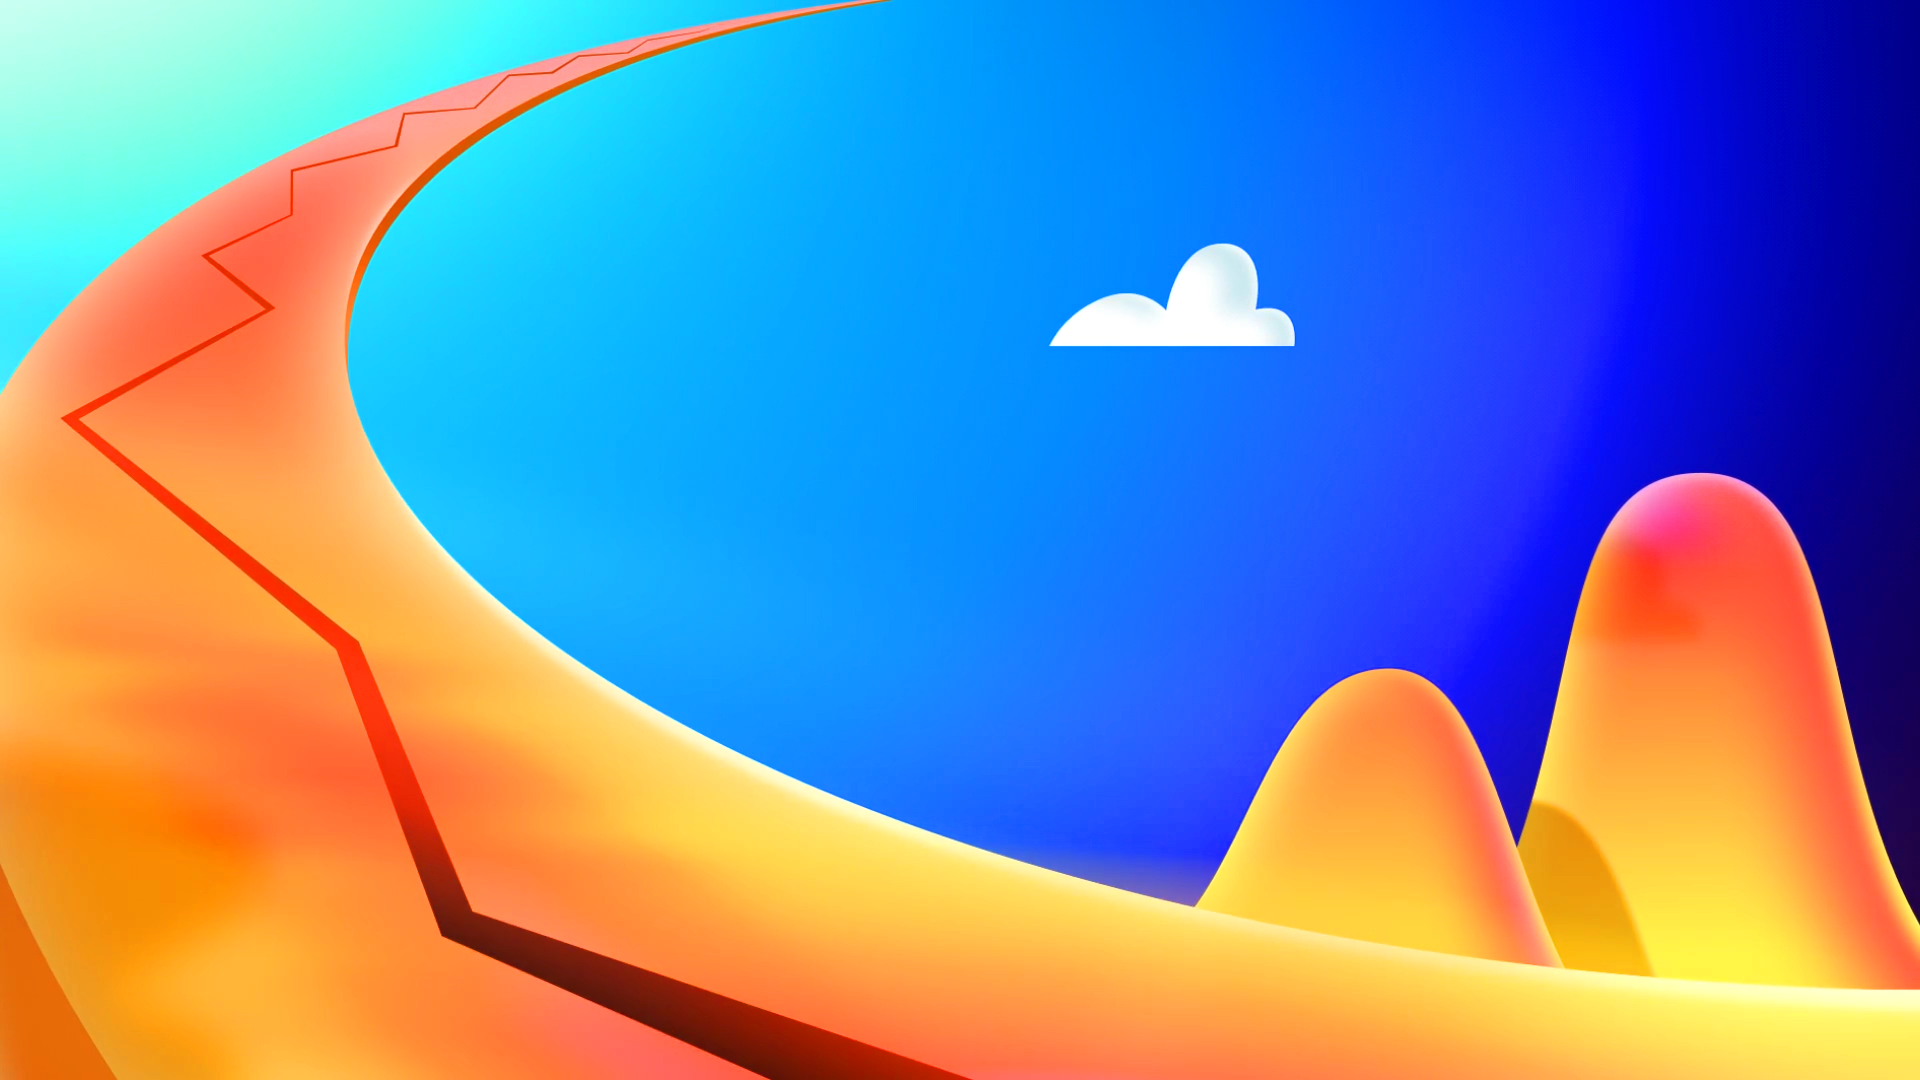
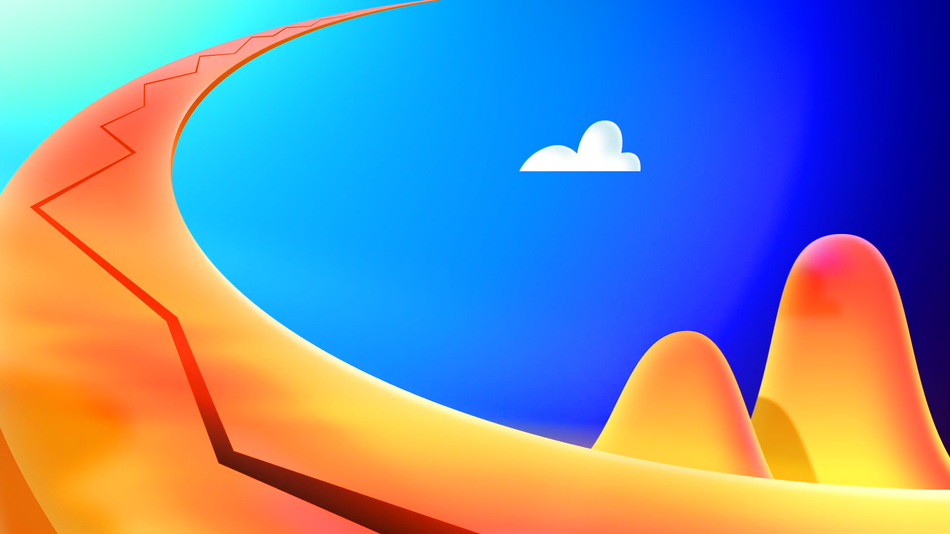
Johan Eriksson (00:14): Naturally when working with 2d, it tends to be very flat, like, because you have two dimensions, essentially you have the X, which is like left or right. And you have the Y, which is up and down. So I think really one of the keys here to get that depth is to explore the sea dimension, even though there isn't one. And, you know, the way that I issued that, especially in this work, like it's really, you know, thinking that this world actually exists. And, you know, thinking that there is a third dimension where there is not by just suggesting that in your drawing, that there is a third dimension goes a long way. This is a good example of that. So when I drew this, I tried to really, you know, push that seat depth, uh, in both animation and in the design, uh, you can see the road is like really, you know, stretching into the distance.
Johan Eriksson (01:04): And so with the C C dimension, it's basically like from behind the camera and into the distance. And if you can push that and the more you can push it, the more, you know, sense of death you can create. Uh, so that's one part, and I think that's like the most essential part of creating depth. And that also goes into animation because I remember like when I started out and I try to like experiment with depth and creating that C space, I was sort of afraid of scaling stuff. Like I would do like a minimal, you know, motion, but here I just tried to, you know, not hold back and really, you know, scale things really small and have them push and become really big and just really live within that space and be comfortable with that. And I think that's key to creating depth.
Johan Eriksson (01:48): So the way that I animated this car is actually inspired by something that, you know, I sometimes do with client projects. So if you're saying you're working with like a 3d object, uh, and you want it to spin towards the camera, like sometimes you can get away with just doing like a turntable. And with that, you know, and that's essentially like rendering an object, just spinning, you know, 360. And with that, you can bring it into after effects. You can add additional rotation to it, and you can sort of manipulate the speed of the, the turntable using like a time remap. And that's basically how I did this car. If we like going to the card comp here, you can see how simple it is. It's basically going from point a to point B. So I have both sides. There's another way of doing this.
Johan Eriksson (02:32): Like you could just have the point a go a second forward, half point B and then you can hook up those, those key frames to like a slider, like use an expressions, but this is just a quick and dirty way of doing it. Just like dragging out that thing to like 10 something like 10 seconds. So that instead of doing expression work, you can basically just have this comp and due time remapping on it. So you sort of decide what angle you want off the car. So in this column, you can see that I'm using this time remap to basically, you know, shoes when I want the car to be in what position. So it goes from like you seeing the, the left side of the car and then over here supposed to see this side. So basically just having control of the angle of the car.
Jake Bartlett (03:13): So you're controlling the angle of the guard with the time remap. That makes sense. Um, how are you handling the actual car moving along the path then? Right.
Johan Eriksson (03:21): So I think in this case, it's hooked up to this Knoll and it's basically super simple. It's a couple of position, key frames and a couple of scale, key frames. And if I know myself, I think that I probably started with the scale, cause I know that it's going to be scaled from like 5% and scale up to, you know, a hundred or something. And then after that, once I have the scale animation, I could easily just like add the position and sort of just go in and decide where the car should be in. When, if you, if you're to take a look at this guy, this is actually just another angle of the car. Like from underneath, I needed like a, like a second angle of the car just before it passes the camera. So if we go back and that's actually on top of the post-test, so we have the post-arrest time, remember with the 12 frames per second, but in order to get this in there, I needed that to be on a one like animated on one instead of two. Uh, so that's like on top of everything, you can, the frame with that second angle of the car, just passing just one frame there. Yeah. And it just works. Like we should play it altogether. Just feels like one car just going past,
Jake Bartlett (04:28): It's clear, you put a lot of thought into the depths of the, the compositions. And you're thinking about this way more, like you're actually filming it. Like you're looking through a camera as you're designing these, these compositions, but that shot specifically with the road. Didn't have too much camera movement from that point on, there is a whole lot of camera movement going on. So I'm just curious what you did here to, to make all this camera movements so fluid and continue on with this sense of depth that you've established.
Johan Eriksson (04:57): Basically just building up everything block by block, just like going at it, chrono chronologically, just to simplify stuff. It's also kind of similar to what we just talked about with the turntables. So I decided that I had an, a position and I had a B position sort of similar here. So the head was going to have this first position right here and then moving forward, we're going to end up at this state. And it's as simple as that, it's basically the head is connected to this Knoll, what a position in a scale. And I just know that we want to go from here and want to end up in this position from there. It's just like deciding on the easing, like making the easing, right. So you can see sort of eases into it. And then it has a quick movement and then leans into it at the end.
Johan Eriksson (05:47): And from there, like when I have the head movement, I sort of, you know, applying the same technique to each element because the hand in relation to the, to the head sort of implies where this guy is in space with just the head and the hands animated, you really get what's going on here. Like just by having these three shapes, uh, animated like this, you can sort of feel that there is a camera in this space and it is moving how it is moving. Like it's doing this turn. So, you know, by just some simple means you can get that feeling of the camera traveling. So from there, it's like simply just like building up the different elements. So like once I have the hand and the, and the head, you know, you can sort of build the arms and once you have that arm, you can sort of duplicate that and apply it to the next hand. Uh, so it's very like strategically built up like that 100 at a time.
Music (06:42): [outro music].