
Photoshop is one of the most popular design programs out there, but how well do you really know those top menus?
As a motion designer, most of the styling and effects you create are implemented in After Effects. But there are still times where you might need to apply filters effects directly in Photoshop. Styleframes, Moodboards, and general Asset Design are prime examples.
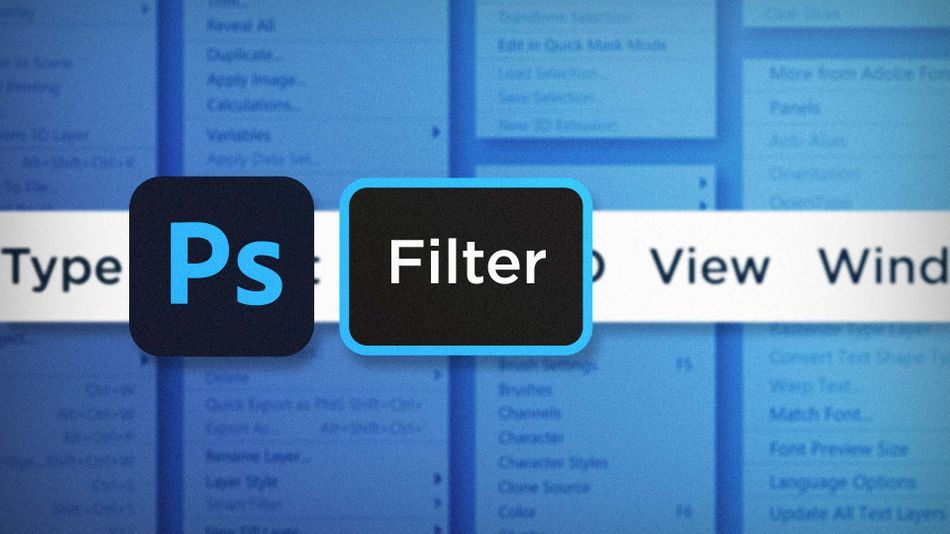
Photoshop’s design environment is drastically different from After Effects. But with some knowhow of the Filter menu, you can begin to use Photoshop to pull off some of the same things you can in Ae. Let’s take a look a few of my top picks:
- The Filter Gallery
- Liquify
- Lens Correction
Filter Gallery in Photoshop
Photoshop’s Filter Gallery has been around for a while, and is filled with effects that you might see in a shopping mall photo booth. And while you absolutely can make a less-than-impressive pencil drawing from a photo with a single click, there’s actually a lot of potential that can come from this feature of Photoshop.
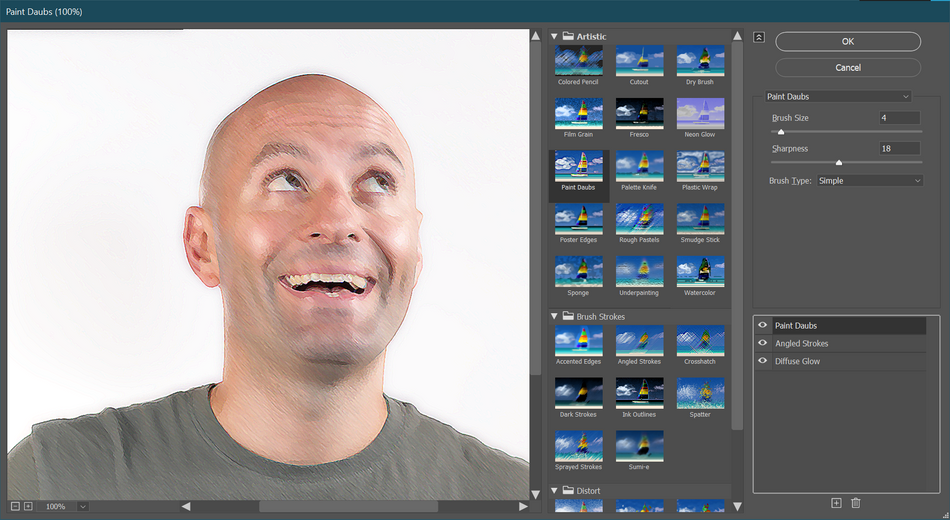
Open up a photo, and head to Filter > Filter Gallery. Make sure to convert to a Smart-Object first if you want to work non-destructively.
Now you can browse through all of the different filters available in Filter Gallery. Click on any of them to get a live preview of what that filter looks like. Each filter has its own set of controls that modify how the filter is applied, similar to how effects work in After Effects.
The power of the Filter Gallery is its ability to stack filters. On the right hand side of the window you’ll see the name of the current filter. At the base of the window there’s a button with a plus sign +. Click this button to add a second filter, then change it to any filter you’d like. The filters stack just like layers; so the lowest filters are applied first. You can click and drag the filters to rearrange their order.
Experiment with different filter combinations to produce unique textures and effects. With the right set of filters you can actually produce some pretty impressive results.
Important Note: Some effects in the Effect Gallery are influenced by the foreground/background colors set in the tools panel. If you’re getting wacky colors in the Filter Gallery, back out and reset the foreground/background colors by pressing D, then head back in.
Liquify in Photoshop
Sometimes you’ll run into situations where you want to distort an image in a very specific way, and other methods like Warp or Distort just can’t give you the control you need. That’s where Liquify comes in. Open up a photo and go to Filter > Liquify.
There are a variety of very useful tools on the left side of the Liquify window, and parameters to modify how each of those tools behave on the right side column. These tools give very precise control over difficult distortions so you can get your asset looking just right.
There are also some hilarious face editing tools available.
Lens Correction in Photoshop
The Lens Correction filter is a very powerful tool for, well, correcting lens distortions. But who likes perfection? It can also be a great way to add in lens distortion to images or graphics. Open up a photo or design element and go up to Filter > Lens Correction.
Disable all of the auto detection controls on the right side Auto Correction tab and use the Custom tab to distort to your heart’s content.
There are plenty of times that I’ve screamed at Photoshop “WHY CAN’T YOU JUST BE LIKE AFTER EFFECTS?!” And if I’m being honest, that still happens. It makes me want to throw my hands in the air and just do the design in After Effects, but the reality is there are times that things just have to be done in Photoshop. Using smart objects to work as non-destructively as possible is a big help. And being aware of the Filter Gallery, Liquify and Lens Correction tools will hopefully ease your sudden urges to force quit Photoshop when you’re working on your next project.
Ready to learn more?
If this article only roused your appetite for Photoshop knowledge, it seems like you'll need a five-course shmorgesborg to bed it back down. That's why we developed Photoshop & Illustrator Unleashed!
Photoshop and Illustrator are two very essential programs that every Motion Designer needs to know. By the end of this course, you'll be able to create your own artwork from scratch with tools and workflows used by professional designers every day.